Follow this simple technique in GIMP to boost saturation and make your images really pop. The following instructions are for GIMP but can easily be reproduced in Photoshop.
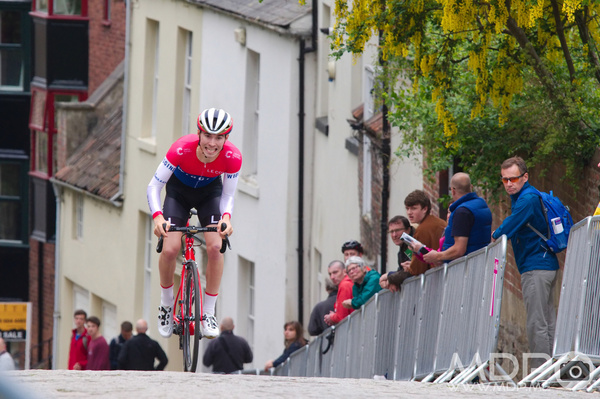
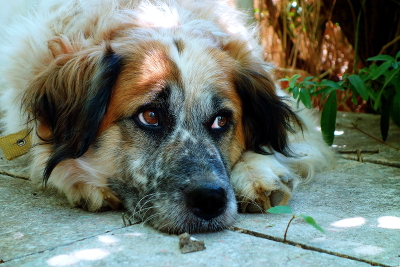
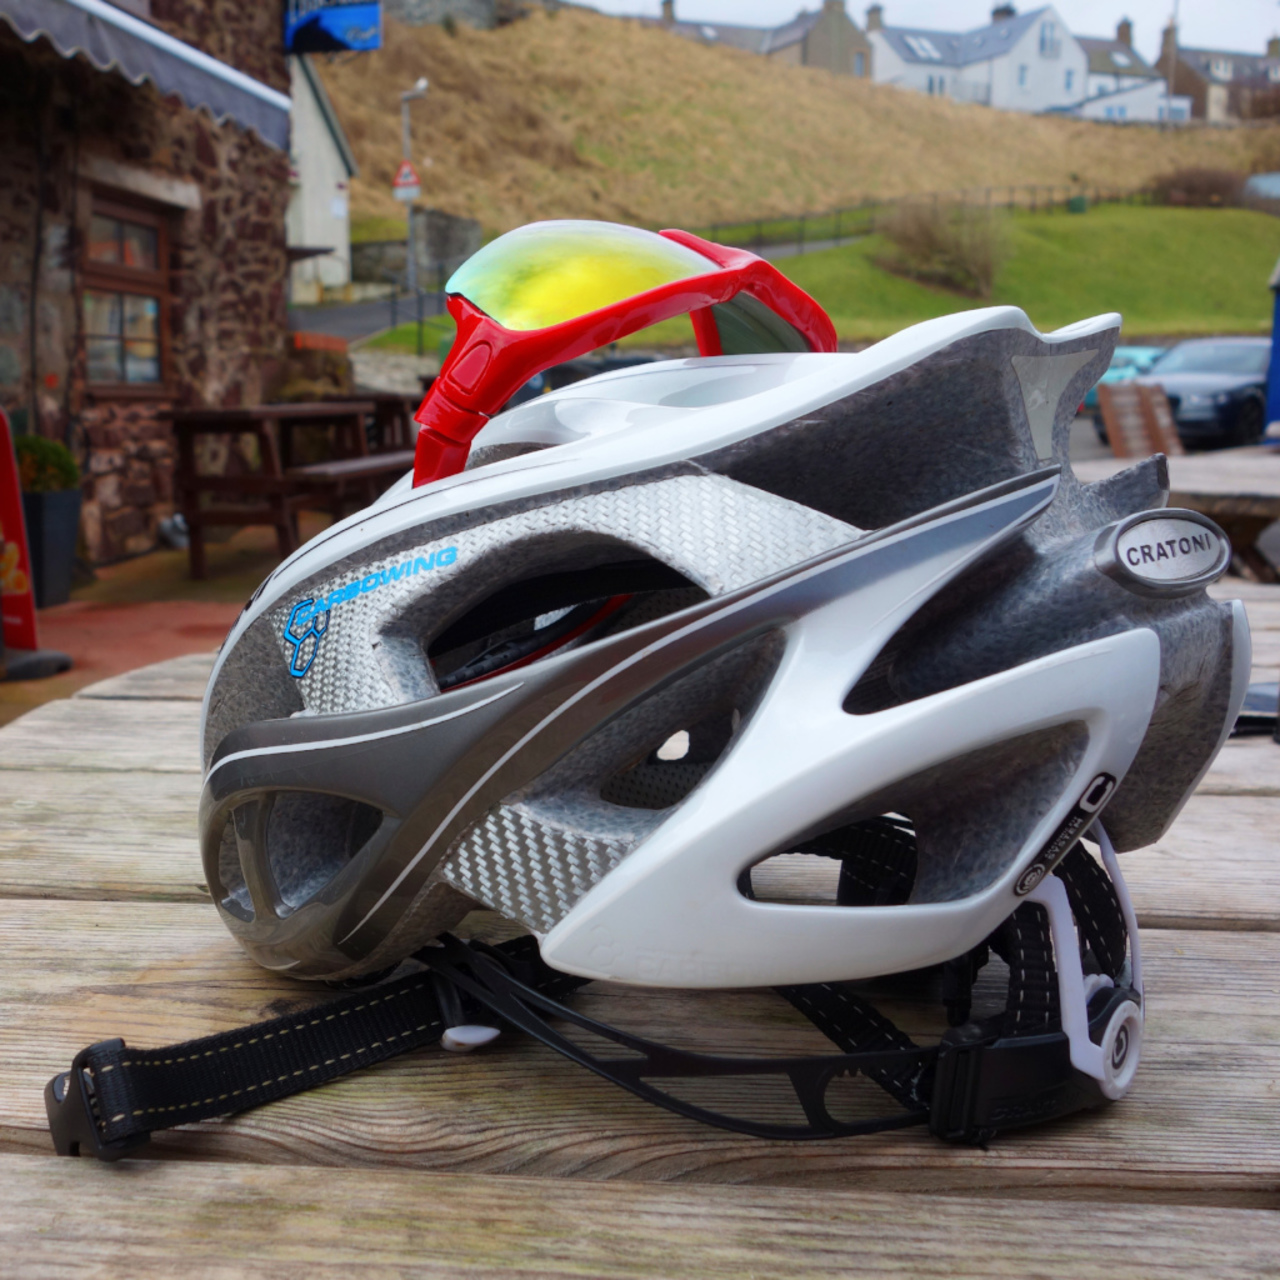
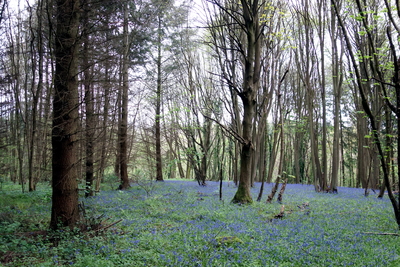
Below is the original, unprocessed image which I will be using in the example. Click any of the images to view them larger.
1. Duplicate Your Layer
First create a copy of the original image by clicking the "Duplicate" button at the bottom of the Layers dialogue.
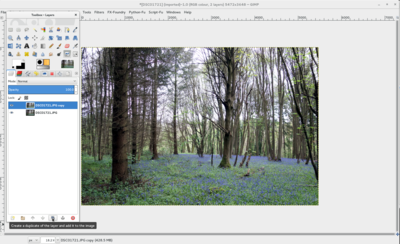
You will be applying the changes to the copy of the original layer. The original image will be retained as the bottom layer.
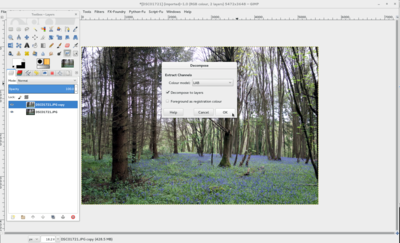
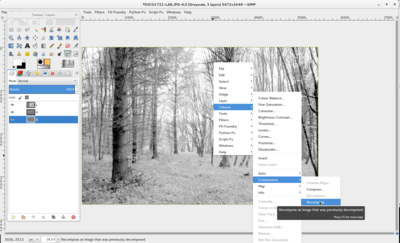
2. Decompose the Image
Convert the image to LAB by right clicking on the image and selecting Colors->Components->Decompose.
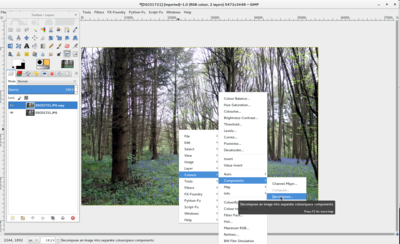
Select LAB as the colour mode and make sure the "Decompose to layers" checkbox is ticked.
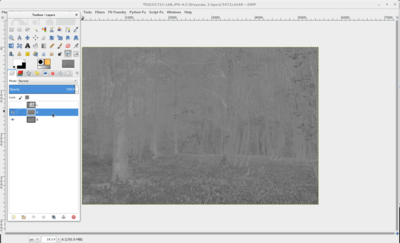
You should now have a new grayscale image composed of 3 layers L, A and B.
Adjust the Levels of the A Channel
Turn off the visibility of the L layer by clicking the eye icon in the Layers dialogue.
Select the A layer, right click and choose Colors->Levels. Use the text boxes of the Levels dialogue to set the input levels to 30 and 225.
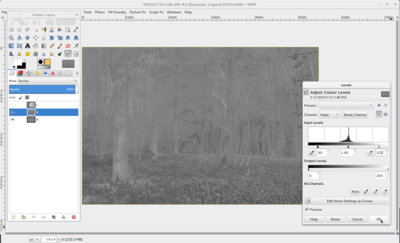
You can also use other values such as 40 and 215, or 20 and 235, you just need to make sure the values are balanced: the low number is X, high number is 255 - X. The bigger X is, the more effect you'll see, but you don't want it so big that your black or white triangles encroach on the values in the graph.
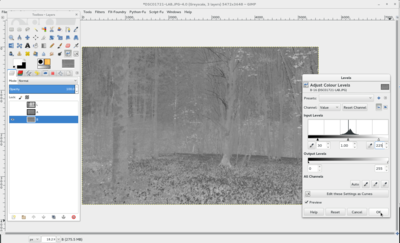
Repeat for the B Layer
Now turn off the visibility on the A layer and repeat the above process for the B layer. You don't have to use the same X as you did in the A layer, but you'll probably want to.
Recompose the Image
Right click on the image and this time choose Colors->Components->Recompose.
Now the top layer of your original image should be vividly coloured.
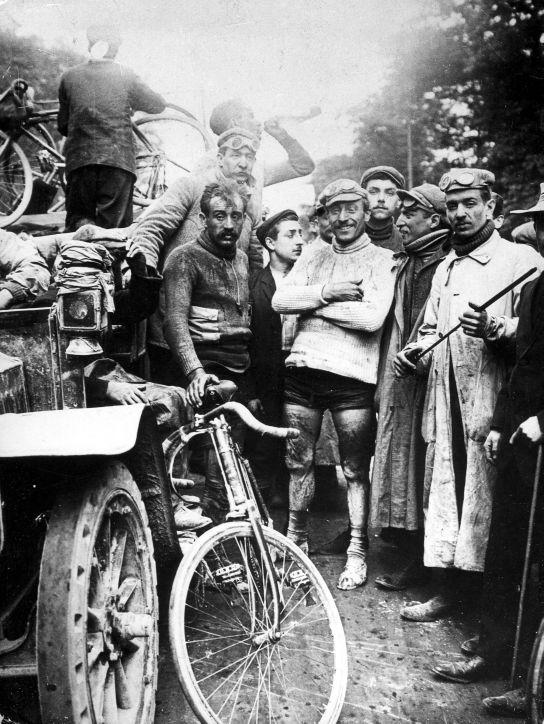
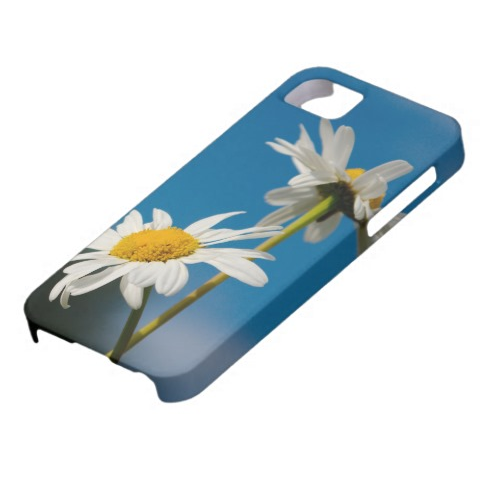
Here is the adjusted image:
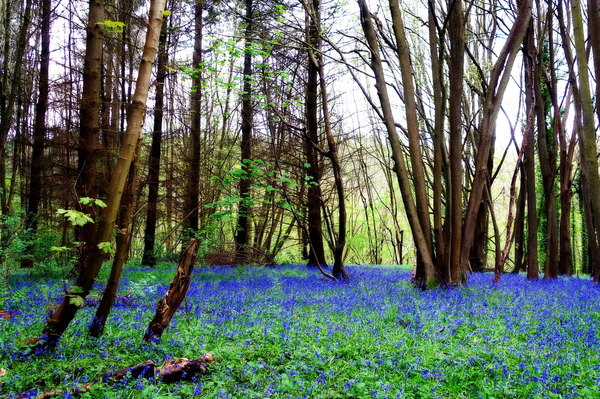
Sometimes the results can be quite subtle, as it is here, other times the effect can be over saturated. If it is too much, you can adjust the opacity of the top layer to get a compromise between this and the original image. Alternatively, you can go back and repeat the previous steps using different values. The A layer controls the magenta-green spectrum. The B layer controls blue-yellow. Keep that in mind, if for example, what you really want, is just more vivid sky, without over-reddening faces. In which case you'd use a bigger X value for the B layer than for A.
For a larger view click here.